




Consider a familiar desk-work moment: one shoulder has crept toward your ear, the padded area across its top feels tight, and a compact massage gun is within reach. The useful target is the shoulder muscle under your fingers. The nearby cervical spine, throat, major blood vessels, and nerves all sit outside the route.
The safer interpretation of Mini Massage Gun for Neck and Shoulders is to work on reachable, padded muscles around the shoulder—not the front or sides of the neck, the spine, or the base of the skull. For ordinary muscle tightness after desk work, training, or carrying a bag, that usually means the upper trapezius, rear shoulder, and muscular area between the shoulder blade and spine.
Even within those zones, placement comes before intensity. Start low, let the device do the tapping, and keep the target shoulder relaxed enough to judge what you feel.
Draw a boundary around the neck before you switch on
Use your free hand to locate the broad “shoulder shelf” between the base of the neck and the outer shoulder. The padded portion that rises when you shrug is largely upper trapezius muscle. Let the shoulder drop again before using the device.
From there, separate the area into three practical targets:
- Upper trapezius: the padded slope from the top of the shoulder toward—but not into—the neck. Stay on the muscle belly and leave a generous gap beside the cervical spine.
- Rear shoulder: the muscular back of the shoulder below the bony ridge, where the rear deltoid can be reached without twisting the arm.
- Upper-back muscle beside the shoulder blade: the soft tissue between the inner border of the shoulder blade and the spine. This zone is often easier for another person to reach; it is not worth contorting yourself to access it.
The no-go areas are just as important. Do not place the head on the front or side of the neck, throat, pulse points, cervical vertebrae, base of the skull, collarbone, tip of the shoulder, shoulder joint, or the hard ridge and edges of the shoulder blade. Do not use it in the armpit.
If you cannot tell whether the head is on muscle or bone, turn the device off and identify the area with your fingers first. Bone feels hard and fixed; a suitable muscle zone has more padding and changes shape when you gently move the shoulder.
Reach is part of pressure control
A mini device can be easier to guide with one hand than a larger gun, but the target only counts as reachable if you can keep the shoulder down and your wrist reasonably straight. If you must shrug, crane your head, or grip hard to hold the device in place, the muscle is no longer relaxed and your pressure feedback becomes less reliable.
For the top of your right shoulder, hold the device in your left hand. Rest the left elbow on a desk, armrest, or cushion so the forearm does not have to hover. Keep your head upright and tilt only the device. Reverse the setup for the other side.
The rear shoulder may be easier to reach with the same-side hand brought across the chest, but only if the wrist stays comfortable. For the area between a shoulder blade and the spine, ask another adult to help only if they can follow the same muscle-only boundaries and you can tell them to stop immediately. Otherwise, choose a ball against a wall or gentle shoulder movement instead.
This is a practical control rule, not a claim that one handle shape is universally safer: if you cannot see, feel, and steer the contact without bracing, skip that spot.
Try one 60-to-90-second shoulder loop
Choose the broadest, softest general-use head supplied with your device unless its instructions recommend something else. Attachment names and firmness vary by product, so do not assume a pointed head belongs on a small or tender area.
Sit upright with both feet supported. Let your jaw, hands, and target shoulder relax. Then work on one side only:
- Start off the body. Turn the device on at its lowest speed before bringing it to the shoulder. This prevents an abrupt bounce against skin or bone.
- Make a short test pass. Touch the broad head lightly to the outer half of the upper trapezius for about five seconds. Do not push down. The contact should feel controlled, not jarring.
- Sweep the shoulder shelf. Glide slowly from the outer shoulder toward the middle of the upper trapezius, stopping well before the neck. Return along a slightly different line. Keep the head moving rather than pinning it to one sore point.
- Move to the rear shoulder. If it is easy to reach, make one or two short passes over the padded rear deltoid. Stay away from the shoulder joint and the hard ridge of the shoulder blade.
- Switch off before repositioning. Remove the device, turn it off, and let both arms hang. Roll the shoulder gently once or twice and turn your head only through an easy, comfortable range.
The full loop does not need to exceed 60 to 90 seconds on one side. That is a conservative routine length, not a medical dose. If the area feels comfortably warm, less guarded, or simply unchanged, you already have enough information. Extra time and extra speed do not prove the session is working.
Wait before repeating the other side if you feel lightheaded, headachy, nauseated, unusually sensitive, or “buzzed” through the head. Those are signals to stop, not effects to chase.
Do not use muscle tightness to explain every symptom
Familiar tension across both shoulders after a long screen session is different from pain after a fall, a sudden pull, or a heavy lift. Skip percussion over swelling, a fresh bruise, broken or irritated skin, or an area that is acutely painful.
Pain that travels from the neck into the shoulder or arm, tingling, numbness, weakness, loss of grip, dizziness, a severe or unusual headache, vision changes, or problems with balance are not targets for a massage gun. Stop and seek qualified medical advice. Seek urgent care for sudden neurological symptoms, chest pain, trouble breathing, fainting, or symptoms that feel severe or rapidly worsen.
A tender spot is not a challenge setting. If contact produces sharp pain, an electric sensation, tingling, numbness, throbbing, skin irritation, or a headache, remove the device immediately. Do not move closer to the neck or increase pressure to “work through” it.
Ask a clinician before trying percussion if you have reduced sensation, osteoporosis, a bleeding or circulation concern, recent surgery, an implanted device near the area, an existing neck or shoulder condition, or medication that changes bleeding or sensation. A device cannot tell the difference between routine muscle tension and a problem that needs assessment.
Check whether movement works better than more percussion
After the loop, put the device down. Take two slow breaths without lifting the shoulders, then make a few easy shoulder circles. If you were at a desk, stand and change position. If you were training, continue with the active warm-up or cool-down appropriate to the session.
If that simple movement feels better than another pass would, use the movement. Massage guns are optional tools, not replacements for breaks, exercise programming, sleep, or professional care. They cannot correct posture permanently; the next working position and how often you move will matter more than trying to erase tension after work.
For a future session, change only one variable. You might shorten the time, use less contact, or choose the lowest speed again. Changing speed, pressure, attachment, and duration together makes it impossible to know what caused irritation.
Choose a mini device for control, not maximum force
For this routine, a useful mini massage gun should be light enough to guide with the opposite hand, offer a genuinely low starting speed, and include a broad head that does not concentrate force. Noise and charging convenience matter if the tool will live beside a desk or travel in a work bag, but neither makes direct neck use appropriate.
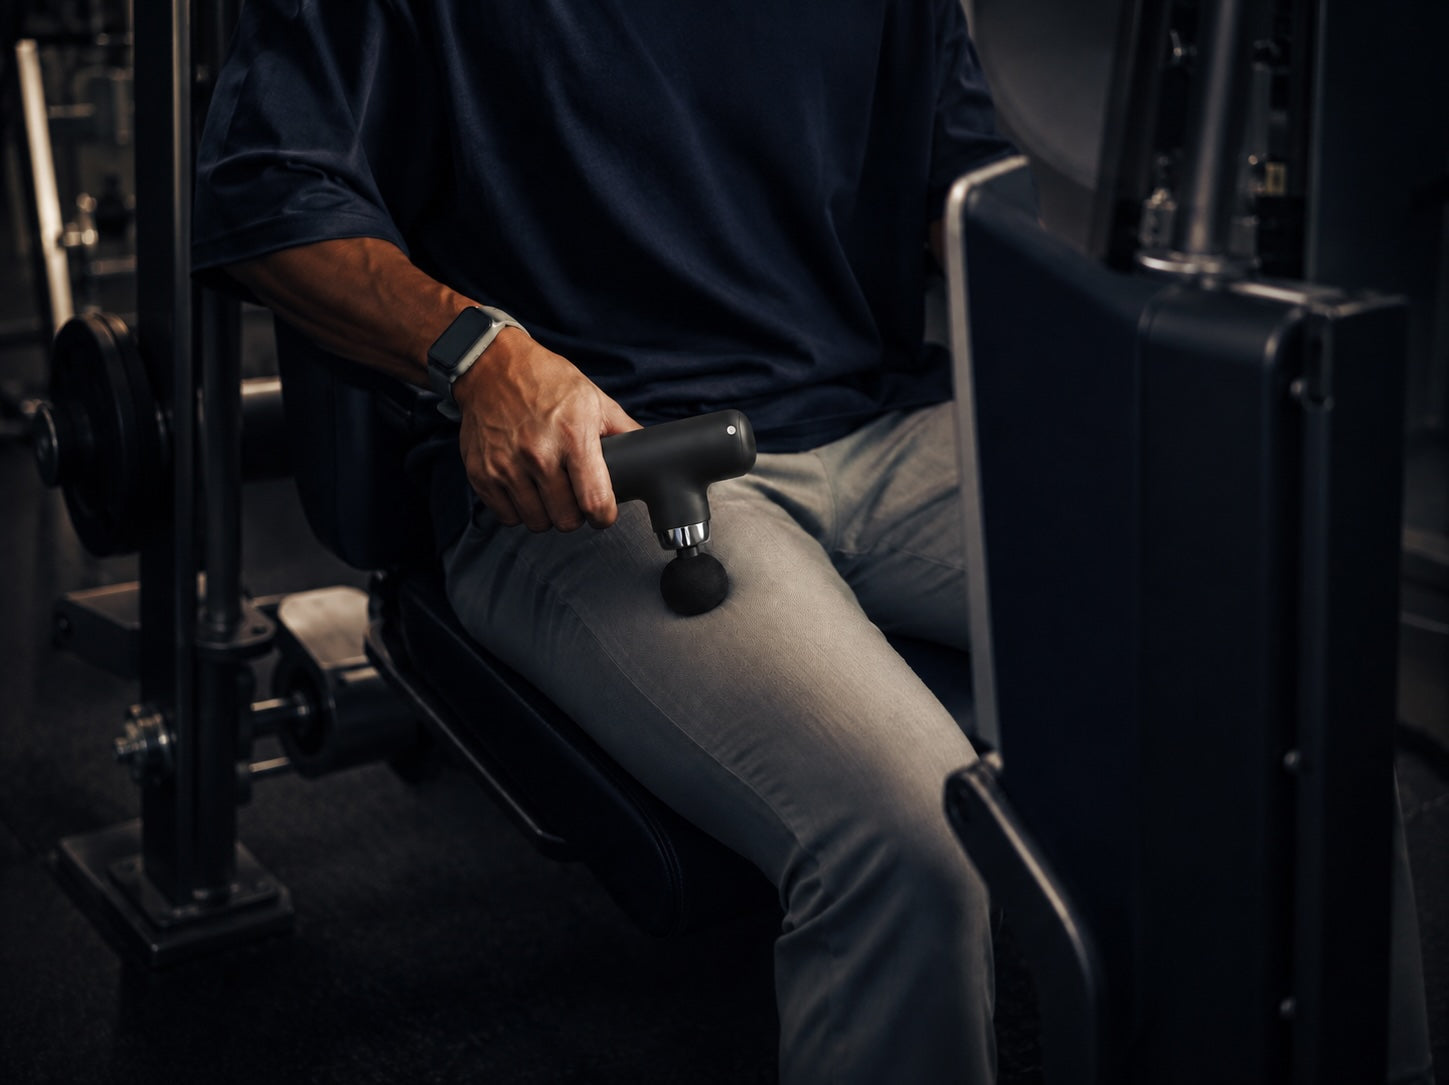
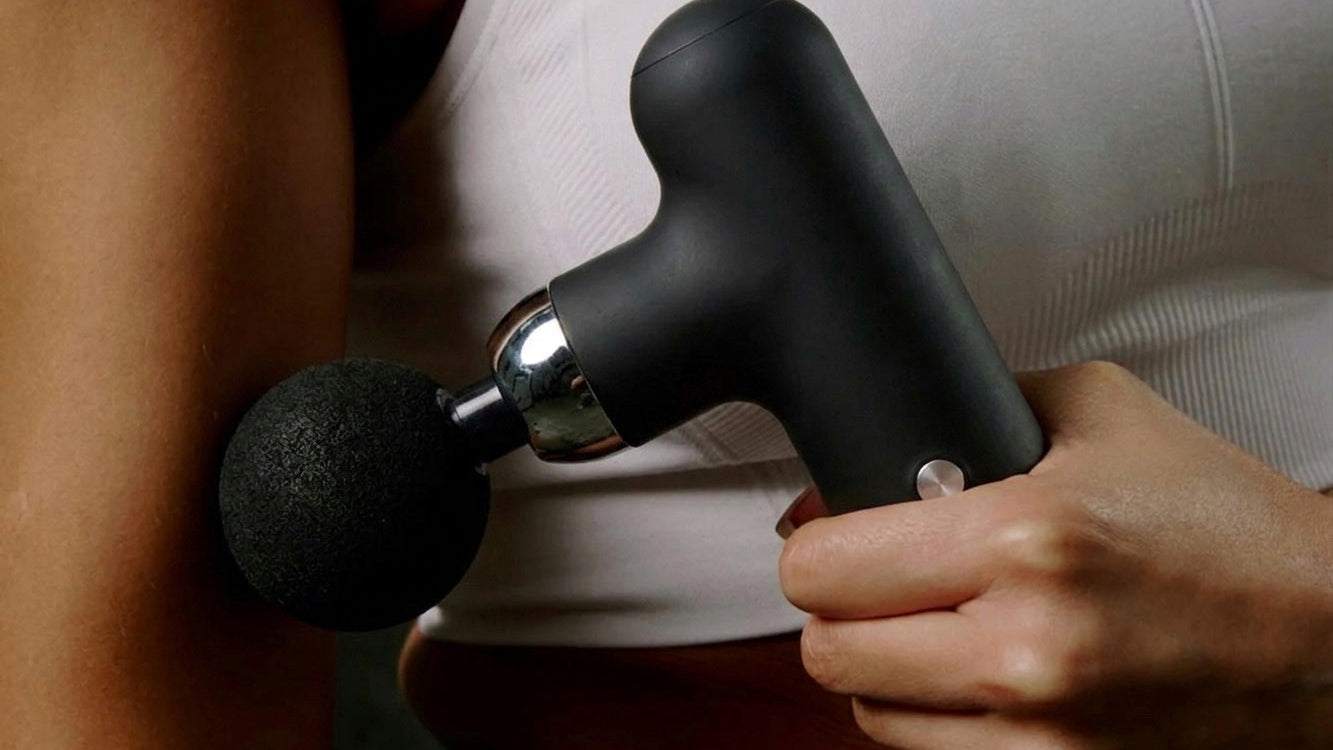
The 17Well Mini Massage Gun is listed at 454 g and offers four speed levels, four interchangeable heads, USB recharging, up to 4,000 impacts per minute, and an official operating-noise range of 25–45 dB. Those are product specifications and brand claims, not evidence that the device treats neck pain or a shoulder condition. Its most relevant fit here is compact, one-handed control on healthy shoulder muscle.
If a light format and adjustable starting point would make this muscle-only routine easier to repeat, buy the 17Well Mini Massage Gun. Begin on the outer shoulder at the lowest speed, and keep the neck itself out of the route.
FAQ
Can you use a mini massage gun directly on your neck?
No. Do not use it on the front or sides of the neck, throat, pulse points, cervical spine, or base of the skull. For general wellness use, keep the device on reachable, padded shoulder muscles such as the outer upper trapezius and rear shoulder.
Can you use a massage gun over the shoulder blade?
Do not run it over the hard ridge or edges of the shoulder blade. You may use light, moving contact on padded muscle beside the blade if you can clearly identify the tissue and reach it without twisting or bracing. A ball against a wall may offer better control for self-use.
What attachment should I use for the upper trapezius?
Start with the broadest, softest head intended by the manufacturer for general muscle use. Avoid pointed or very firm attachments near the neck and other bony borders. Because attachment designs vary, follow the instructions supplied with your device.
How often can I use a mini massage gun on my shoulders?
Frequency should follow your response, not a fixed daily target. Begin with a brief session and wait to see whether the skin and muscle remain comfortable. Skip use if the area becomes more tender, bruised, irritated, numb, or painful.
What should I do if I accidentally used a massage gun on my neck?
Stop using it and monitor how you feel. Seek urgent medical care for sudden severe headache, dizziness, weakness, numbness, vision or balance changes, trouble speaking, fainting, chest pain, or breathing difficulty. If symptoms are mild but persist or concern you, contact a qualified clinician rather than testing the area again.

댓글 남기기
이 사이트는 hCaptcha에 의해 보호되며, hCaptcha의 개인 정보 보호 정책 과 서비스 약관 이 적용됩니다.