

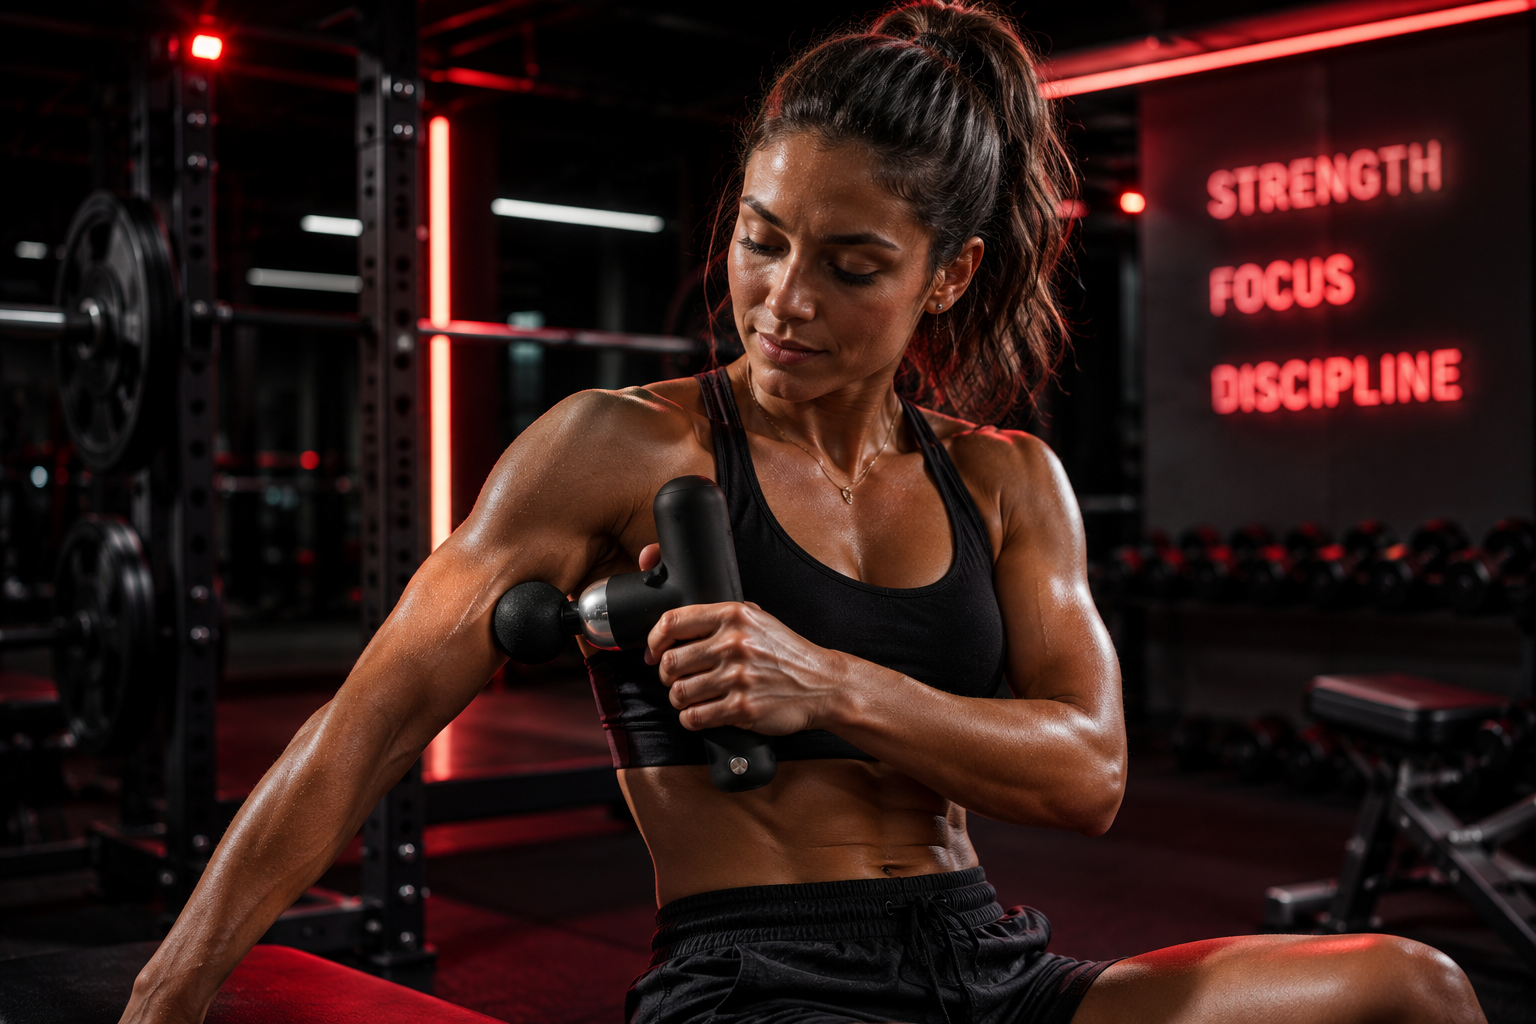
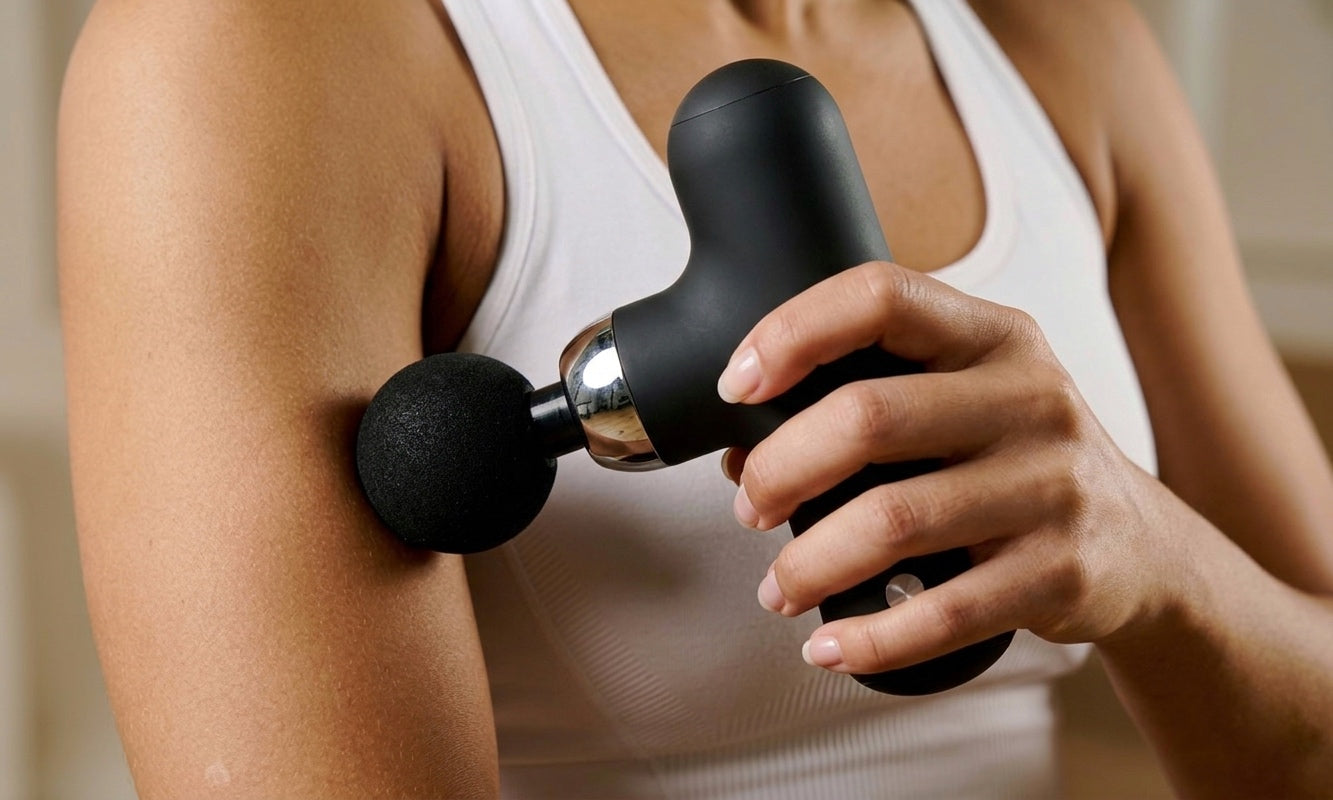
If you've just picked up a massage gun, here's the short version: turn it on the lowest speed, choose a soft attachment, and float the head slowly over the muscle (never a bone or joint) for about 30 to 120 seconds per area, using only light pressure. That's the whole basic method. A massage gun isn't meant to be pushed hard into your body; the motor does the work while you glide.
The rest of this guide walks through the details so you can use yours comfortably and confidently: the safety check to run before you start, how long to spend on each muscle, how to use it before and after a workout, the right technique for calves, quads, hamstrings, shoulders, and feet, what the four attachment heads are for, and, just as important, where you should never put it.
How to use a massage gun: the basic steps
Once you understand the rhythm, using a percussion massager takes only a couple of minutes. Here is the simple sequence to follow every time.
- Start with a soft attachment. For most people the round ball head is the easiest place to begin. Screw it on firmly before switching the device on.
- Turn it on at the lowest speed. You can always increase intensity later. Beginning slow lets your muscle relax into the sensation instead of tensing up.
- Rest the head gently on the muscle. Let the weight of the device do the work. You are aiming for a comfortable, buzzing pressure, not a deep, painful jab.
- Glide slowly along the muscle. Move about an inch per second, following the length of the muscle. Keep the head moving rather than parking it on one spot.
- Spend 30 to 120 seconds per muscle group, then move on. Short and regular beats long and aggressive.
- Ease off if anything feels sharp. Discomfort that fades is normal; sharp or worsening pain is your cue to lift off and reduce pressure or speed.
That's the core technique. Everything below simply refines it for specific situations and body parts.
Run this safety check before you start
A quick check before your first session keeps things comfortable and helps you avoid the areas a massage gun isn't built for.
- Test the speed on your forearm first. This gives you a feel for the intensity before you bring it to a more sensitive muscle.
- Make sure the attachment is locked in. A loose head can pop off during use.
- Keep clothing or a thin layer between the head and bony areas if the vibration feels too intense on lean spots.
- Avoid recently injured, bruised, swollen, or inflamed areas. Give those a wide berth.
- Check with a healthcare professional first if you are pregnant, have a medical condition, take blood thinners, have varicose veins, or are recovering from surgery or an injury. When in doubt, ask before you buzz.
A massage gun is a comfort and recovery tool for healthy muscle, not a fix for a specific injury or medical issue, so if something hurts in a way that worries you, a professional is the right first stop.
How long to use a massage gun on each area
One of the most common beginner questions is simply how long to use a massage gun on any given spot. The general rule is short sessions: spend roughly 30 to 120 seconds per muscle group, and keep the head moving the whole time rather than pressing on one point. Staying too long on a single spot (especially over a tender knot) can leave the area feeling sore afterward.
As a rough starting guide:
| Area | Suggested time | Note |
|---|---|---|
| Calves | 1 to 2 minutes each | Lighter pressure near the Achilles |
| Quads (front of thigh) | 1 to 2 minutes each | A large muscle, so you can spend a little longer |
| Hamstrings (back of thigh) | 1 to 2 minutes each | Keep off the back of the knee |
| Shoulders / upper back | 45 to 90 seconds each side | Stay on muscle, avoid the spine and neck |
| Feet (arches) | 30 to 60 seconds each | Use a soft head and light pressure |
If you're targeting a specific tight spot, you can pause the glide briefly over it, but keep the total time within these ranges. More is not better; consistency across the week matters far more than any single long session.
How to use a massage gun before a workout
Before exercise, a massage gun is used to help you feel loose and ready to move, not to wear the muscle out. Keep it quick and light: about 30 seconds per muscle group at a low-to-medium speed, moving briskly along the muscles you're about to use. Many people run it over the quads, hamstrings, calves, and glutes before a lower-body session, or the shoulders and upper back before upper-body work. Think of it as part of your warm-up rhythm, followed by your usual dynamic stretches or light movement.
How to use a massage gun after a workout
After training is where a lot of people reach for a massage gun, and it's a great tool for easing that heavy, worked feeling. This is a good option as a massage gun for sore muscles: work gently over the muscle groups you trained, spending 1 to 2 minutes on each at a comfortable speed. Go slower and lighter than you might expect, since tired muscles can be tender, so let the percussion glide rather than dig.
If you notice a tight, ropey spot, you can use the massage gun for muscle knots by gliding repeatedly across and along the area with light pressure, rather than pressing hard into the center of it. The aim is to help the surrounding muscle relax and feel more comfortable over a few passes. If a knot stays painful, ease off, because this is a comfort tool, and stubborn or painful knots are worth mentioning to a professional.
How to use a massage gun on each body part
Technique shifts a little from muscle to muscle. Here's how to approach the five areas beginners ask about most.
Calves
Sit down with your leg extended or bent comfortably. Glide the head up and down the belly of the calf muscle, from just above the ankle to just below the back of the knee. Use lighter pressure near the Achilles tendon at the bottom, and never push directly into the back of the knee.
Quads
The front of your thigh is a large, forgiving muscle and a good place to build confidence. Sitting or standing, run the head from just above the knee up toward the hip, covering the inner, middle, and outer thigh. You can spend a little longer here, but keep the head moving.
Hamstrings
Prop your foot on a chair or sit with your leg extended. Glide slowly from just above the back of the knee up toward the glute, following the length of the hamstring. Stay off the back of the knee itself, where there are no big muscles to cushion the vibration.
Shoulders
For the tops of the shoulders and upper back, keep the head on the meaty muscle and off the spine and the base of the neck. Glide from the shoulder toward the upper back in smooth passes. Reaching your own shoulders can be awkward, so a device with an angled or U-shaped attachment (or simply a compact one) makes this much easier.
Feet
Sit down and rest your ankle on the opposite knee. Use a soft, rounded head on the arch of the foot with light pressure and short, slow passes. Feet are sensitive, so start gentle and keep sessions to under a minute per foot. Avoid the ankle bones and the top of the foot.
Massage gun attachments: which head to use
Most massage guns come with a set of interchangeable heads, and matching the right one to the job makes a real difference. Here's what the four common massage gun attachments are for.
- Round ball head: the all-rounder. Soft and versatile, it suits large muscle groups like the quads, hamstrings, glutes, and shoulders. If you're unsure which to grab, start here.
- Flat head: a broader, firmer contact area for general use across larger, denser muscles and the chest or back. Good for an even, overall feel.
- Bullet (or cone) head: a small, pointed tip for pinpoint areas such as focused spots in the shoulders and upper back, the arches of the feet, or a specific tight point. Use it with a light touch since the pressure is concentrated.
- Fork (or U-shaped) head: designed to straddle a ridge so you can work either side of the spine, the neck's muscular sides, or along the Achilles and calf, never directly on the bone in the middle.
You don't need to overthink it: the ball head handles most everyday recovery, and you can experiment with the others as you get comfortable.
Where not to use a massage gun
Just as important as knowing where to use it is knowing where not to. Keep the head away from:
- Bones and joints: knees, elbows, ankles, wrists, and the kneecaps.
- The front and sides of the neck and the throat.
- The spine itself: stay on the muscles to either side.
- The head and face.
- Injuries, bruises, swelling, inflammation, open wounds, or recent surgery sites.
- Directly over the abdomen, and areas where you can feel a pulse.
- Varicose veins or areas with known circulation issues.
If you can't tell whether an area is safe, the simplest rule is: stay on soft, healthy muscle, and skip anything bony, sharp, or already sore in a bad way.
When to stop using a massage gun
Listen to your body and stop the session if you notice any of the following:
- Sharp, shooting, or worsening pain rather than a comfortable buzz.
- Numbness or tingling in the area.
- Increased swelling, redness, or bruising.
- Any pain that lingers long after you've finished.
Occasional mild tenderness after a session (similar to after a firm massage) can be normal. But pain that builds, spreads, or doesn't settle is a signal to put the device down and, if it continues, check in with a healthcare professional. A massage gun should leave you feeling looser and more comfortable, not worse.
Make it part of your routine
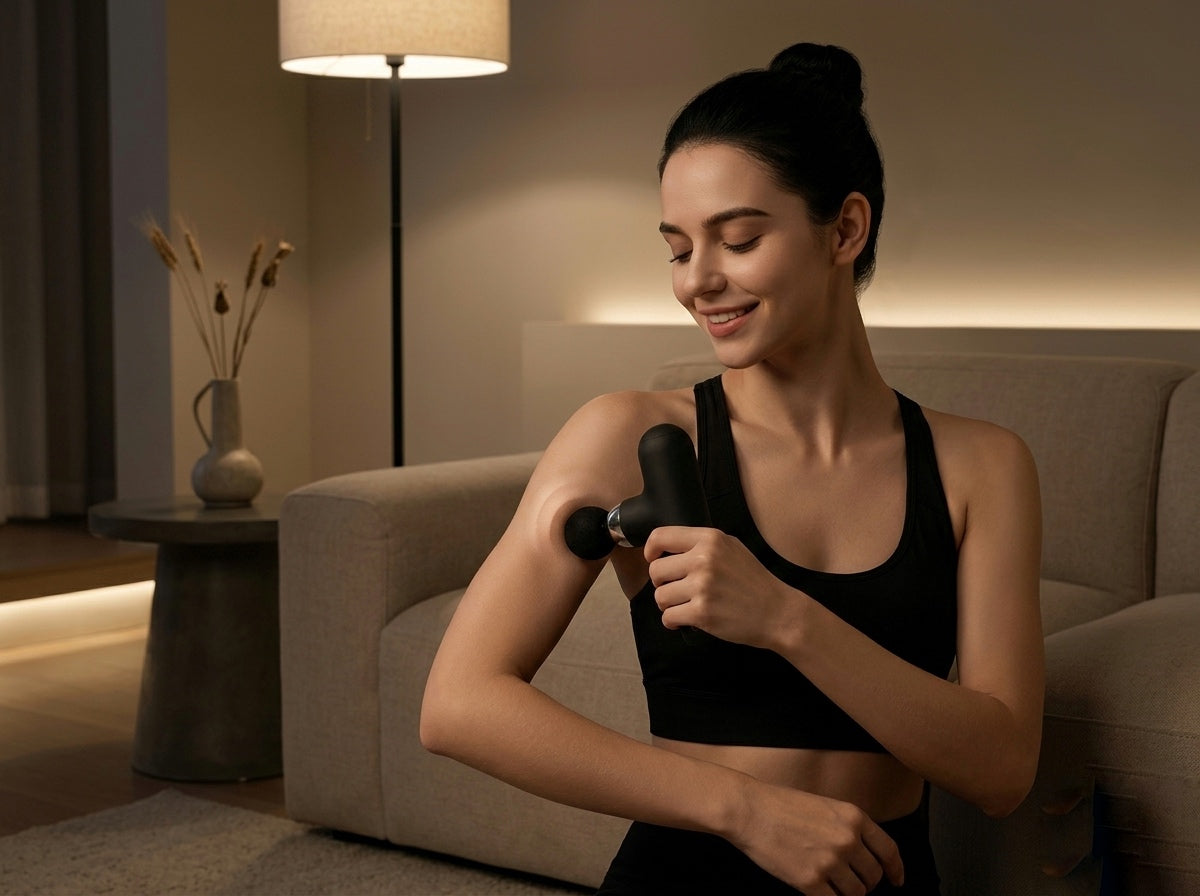
The real benefit of a massage gun comes from using it regularly, not intensely. A few minutes after a workout, during a long desk day, or in the evening adds up to a simple, sustainable recovery habit. A compact, portable design makes that consistency far easier: it fits in a gym bag, a desk drawer, or a carry-on. If you're looking for one to start with, take a look at the 17Well Mini Massage Gun.
To go deeper on specific situations, these companion guides help:
- Wondering about timing? See our guide on whether to use a massage gun before or after a workout.
- Traveling with one? Read our guide to the best mini massage gun for travel for TSA tips and packing advice.
- Comparing recovery tools? See our foam roller vs massage gun breakdown.
Used gently, consistently, and with a little attention to the areas above, a massage gun is one of the simplest recovery tools to fold into everyday life.

Leave a comment
This site is protected by hCaptcha and the hCaptcha Privacy Policy and Terms of Service apply.